The image you have in your head: a wall of your favorite Pokemon cards, lit, organized, behind glass. The price tag you've seen quoted: $500 to over $1,000 once you start pricing real shadowboxes and slab frames. Both of those things can be true at the same time. They're just describing a different version of this project than what most collectors actually need.
A real working Pokemon card display wall, on a $200 budget, is built in 2026 from off-the-shelf modular frames, magnetic one-touch holders, and a weekend of measuring. The cards inside are what carries the wall, not the gear. This is the step-by-step.
Key Takeaways
- $200 covers a 9-12 card wall with proper UV-aware protection if you buy modular instead of custom.
- Magnetic one-touch holders ($2-5 each) are the protection layer; the frame is decoration.
- The biggest budget mistake is overbuying frames before the cards are picked. Pick cards first, then frame style.
- Wall placement matters more than frame quality. A north-facing wall with cheap frames outlasts a south-facing wall with premium frames.
- Total build time is 3-4 hours including measuring, ordering, and mounting.
What does $200 actually buy in 2026?
The realistic 2026 budget breakdown for a 9-card display wall:
| Item | Quantity | Unit cost | Subtotal |
|---|---|---|---|
| Magnetic one-touch holders (35pt UV) | 9 | $3 | $27 |
| Perfect-fit inner sleeves (100-pack) | 1 pack | $8 | $8 |
| Modular wall frames (Etsy 3D-printed sets) | 9 | $10-12 | $95-108 |
| Mounting tape (3M Command strips) | 2 packs | $8 | $16 |
| Pencil, level, measuring tape | -- | -- | $0-15 (have or borrow) |
| Total | $146-174 |
That leaves room for a single grail upgrade, like one extra-nice slab frame for the centerpiece card, without breaking the budget. If you want 12 cards instead of 9, add roughly $40 for three more one-touches and frames.
Step-by-step: building the wall
- Pick the cards before anything else. Lay out 9-12 candidates on a table. They should share something visually, a theme, a color palette, a Pokemon evolution line, a single set. Random cards on a wall look random. Cards with a through-line look like a collection.
- Measure the wall. A 3x3 grid of standard toploader frames needs roughly 18 inches wide by 24 inches tall, plus comfortable margin on each side. A 3x4 grid runs about 18 by 32. Avoid south-facing walls if there's any choice. North-facing or interior walls cut UV exposure dramatically without spending more on frames.
- Order the holders and frames together. Buy the one-touches first because their dimensions dictate which frames will fit. Standard 35pt one-touches measure roughly 3 1/2" by 2 5/8". Any modular frame that lists "fits standard toploaders" usually accommodates 35pt one-touches too. Confirm in the product description, or buy a single test frame before ordering the full set.
- Sleeve and load the cards. Every card gets a perfect-fit inner sleeve first, then drops into the one-touch. The inner sleeve prevents the card from sliding inside the magnetic holder over time and adds a second layer against dust. Don't skip this step.
- Dry-fit the wall before mounting. Lay everything out on the floor in the grid you want. Photograph it. This is the cheap way to catch arrangement problems before drilling or sticking.
- Mark the wall. Use painter's tape and a level to mark where each frame's top-left corner goes. Spacing of 1/2" to 1" between frames looks intentional. Less than 1/4" looks cramped, more than 2" looks scattered.
- Mount, top row first. Apply mounting tape or Command strips per the frame instructions. Start with the top center frame, work outward, then work down. This keeps any small alignment drift at the bottom where it's least visible.
- Drop the holders in. Most modular wall frames have a slot at the top or side for the holder to slide into. The cards go in last, so any handling adjustments happen with empty frames.
Where do most builds go over budget?
Three places, in order of frequency. First, slab frames. Once one card is in a $25 single-slab frame, people want everything to match, and a 9-card wall in matching slab frames is $225 just in frames. Stick with toploader-style modular frames for the majority and use slab frames only for one or two centerpiece graded cards.
Second, lighting. LED strip kits with controllers run $40-80 and look amazing in product photos. They're optional on a $200 wall. The wall reads fine in normal room light. Lighting becomes worth budgeting for once the wall is the focal point of a room, not before.
Third, mounting. People who haven't done this before sometimes overbuy hardware, thinking they need anchors and screws. For frames weighing under 8 ounces each, 3M Command strips are sufficient on painted drywall. Save the anchor budget for a future heavier shadowbox project.
How long does the wall actually last?
The cards' condition depends on UV exposure and humidity, both covered in the main display guide. For figuring out which cards belong on the wall in the first place, the card value walkthrough is the cleaner pre-step. The frames themselves, when they're plastic or 3D-printed PLA, last several years before any visible yellowing or surface scuffing. Metal frames last basically indefinitely. Wood frames split the middle, depending on humidity and how often they're handled.
The single best longevity move is card rotation. Every 6-12 months, swap the displayed cards out for replacements and put the originals back in storage. This isn't about the frames, it's about the cards. Among collectors active on r/PokemonTCG who post long-term wall photos, the recurring lesson is that cards displayed permanently in full daylight for 3+ years show measurable color loss, even behind decent acrylic.
Frequently Asked Questions
Can I do this with raw cards or do they need to be sleeved first?
Always sleeve first. Perfect-fit inner sleeve, then magnetic one-touch, then frame. The sleeve prevents the card from shifting inside the holder over time, which causes micro-scuffing. The total cost is under $0.10 per card and saves the card from preventable wear.
What if I want graded slabs on the same wall as raw cards?
It's doable but the visual mix can feel uneven because slabs are thicker and protrude more than toploader frames. The cleaner solution is grouping slabs on one row or one section of the wall, and toploader frames on another. Mixing them randomly tends to read as cluttered.
Do I need to worry about wall damage when removing the frames?
3M Command strips, applied per package directions, remove cleanly from properly painted drywall without damage. The risk increases with very thin paint, wallpaper, or textured walls. Test one strip in a hidden spot before mounting the whole grid if you're unsure.
Can I expand the wall later?
Modular frames are designed for this. The original 3x3 grid can grow to 3x4 or 4x4 by ordering matching frames and adding them. Buying from the same Etsy seller or brand the first time makes expansion easier because the exact frame model is still available.
What if a card I love doesn't fit a toploader because of thickness?
Thick cards (jumbo, double-thickness promos, or cards in 75-100pt holders) need oversized magnetic holders, which require larger frames. Most modular wall systems sell oversized variants. If a specific card is the centerpiece, buy its frame first and design the rest of the wall around that dimension.
Where to take this next
Build the wall this weekend if you've been thinking about it for months. The build is short enough that procrastinating costs more time than just doing it. Once it's up, the rest of the collection starts looking different. Cards that aren't on the wall feel like they're waiting for the next rotation. That's when most collectors stop accumulating randomly and start collecting on purpose.
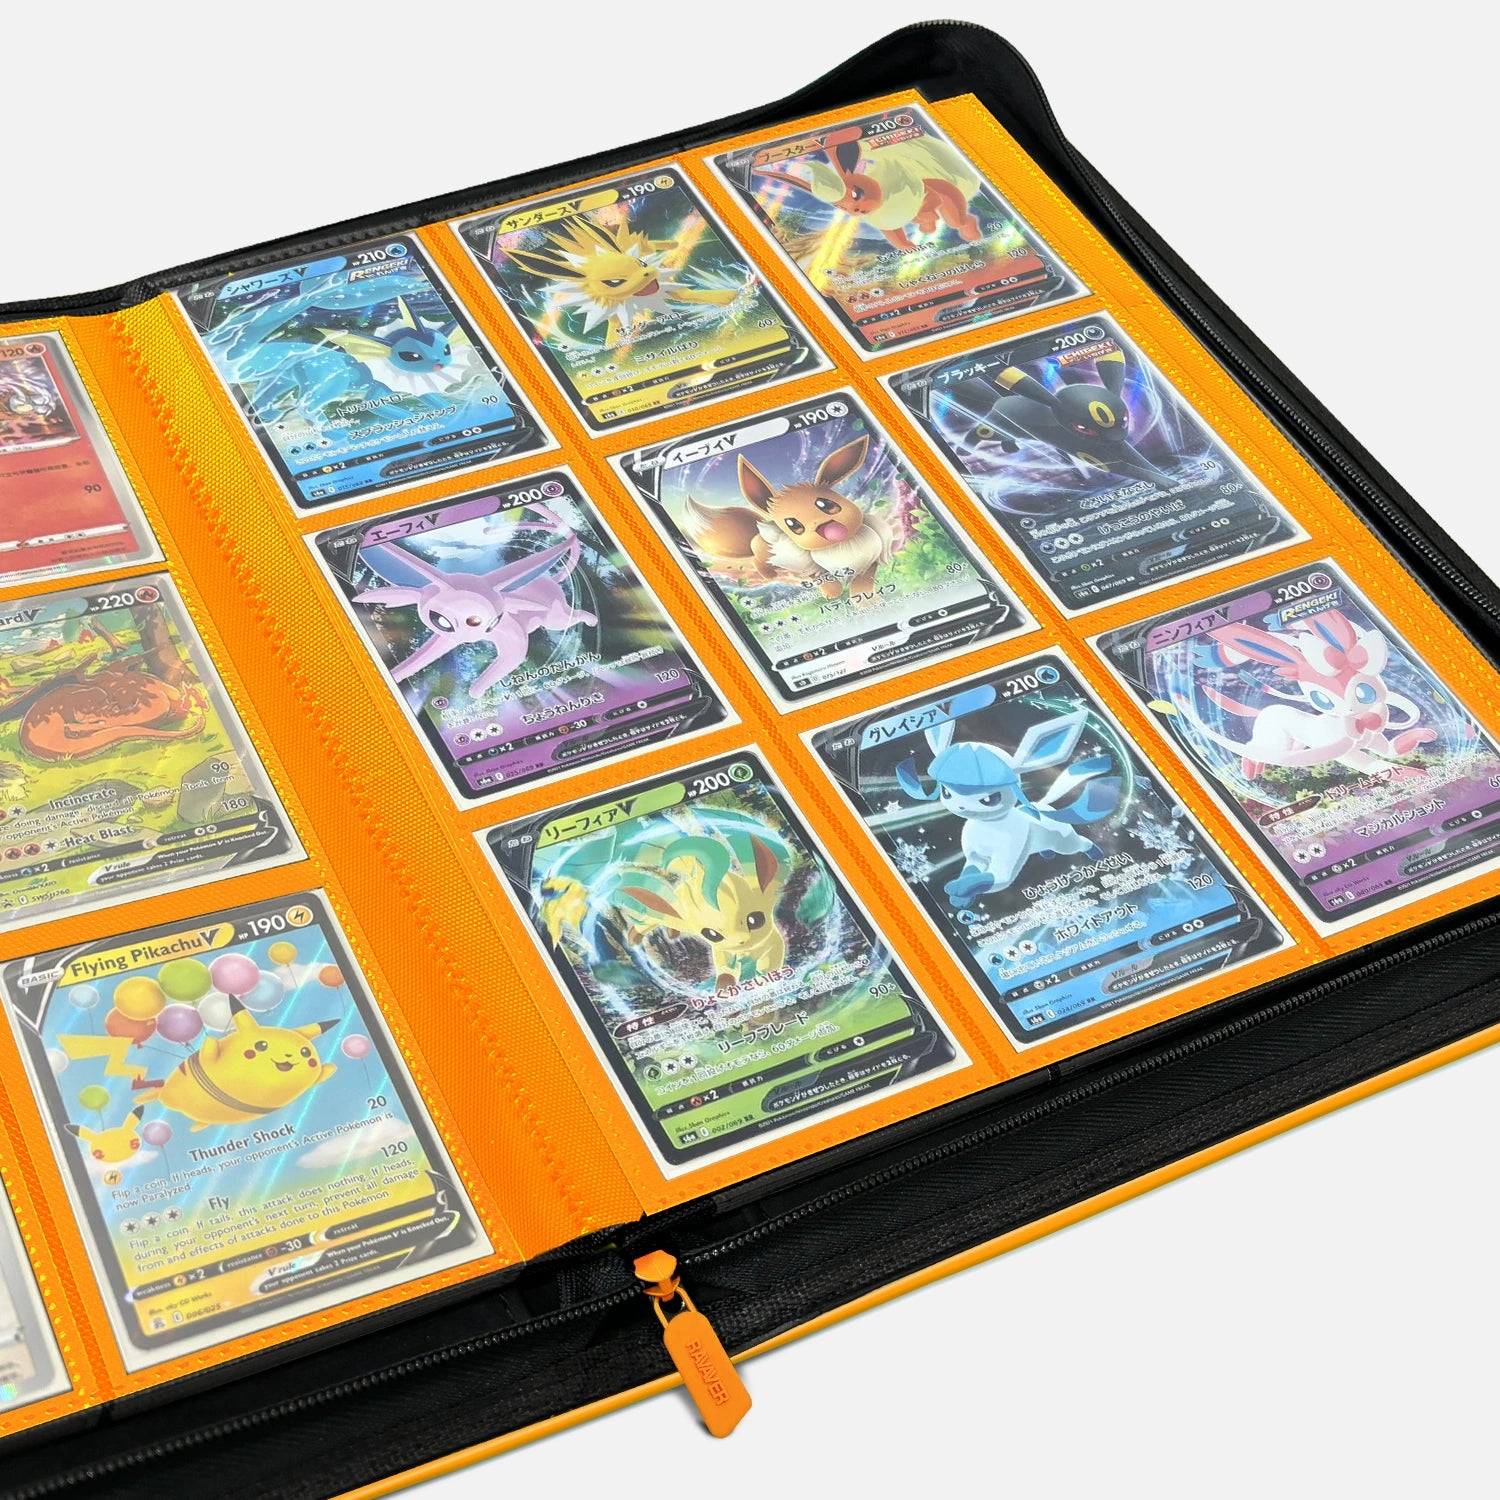
For the binder layer of the same collection, where cards travel and rotate through the wall, the toploader-compatible binders at Ravaver are the active-storage half of this system. Cards live there, get pulled for the wall, and rotate back when their turn is over.
Sources:
- Etsy, Toploader Wall Display Frame product listings, retrieved 2026-05-12, https://www.etsy.com/listing/1893877317/toploader-wall-display-frame-for-tcg
- TCG Protectors, Magnetic Card Holders: One Touch Trading Card Holder, retrieved 2026-05-12, https://tcgprotectors.com/collections/magnetic-card-holders-one-touch
- 3M, Command Strip mounting guidance, retrieved 2026-05-12, https://www.command.com