You pull a great card. You film it on your kitchen counter with the overhead light on. The holo looks washed out. The angle is wrong. The background has a dirty cereal box. You post it anyway because the pull is too good to sit on, and the comments are about your countertop instead of your card.
Card photography for social media isn't a separate hobby. It's a 30-minute setup you do once and then run for months. The collectors getting traction on r/PokemonTCG, Instagram, and TikTok aren't using professional cameras — most are using their phones. They've just solved a few specific problems: backdrop, light angle, color temperature, and where the camera sits relative to the card.
Here's the 7-step setup I run for product shots, pull videos, and binder flipthroughs. Total gear cost under \$80 if you don't already have any of it, and once it's built you don't have to think about it again.
Key Takeaways
- The single biggest upgrade is putting two light sources at 45 degrees off the camera axis instead of one light directly overhead. Holo cards reveal their best detail when light skims across the surface.
- 5500K daylight color temperature is the standard — cards photographed under warm 3000K light look color-shifted and the foils muddy.
- A black PU leather mat or matte black paper as backdrop hides counter clutter and makes any card pop. Total cost under \$15.
- The 30-degree camera angle for video and the dead-flat overhead shot for photo are two different setups — most collectors run one when they need the other.
What you need before you start
This is the full kit. Don't substitute generic LEDs from a desk lamp for the daylight sources — the color cast ruins the photo and editing won't fix it cleanly.
- Phone (any modern smartphone, 2020 or later)
- Two LED panels at 5500K daylight, or one 18-inch ring light (\$25-\$50 total)
- Black PU leather mat or matte black craft paper, 16" x 24" or larger (\$10-\$20)
- Microfiber cloth for cleaning slabs and sleeves before shooting (\$5)
- Phone tripod or small adjustable stand (\$15-\$30)
- Optional but useful: small white bounce card (a folded piece of white poster board works)
The 7-step setup
- Lay the black backdrop on a flat surface. Desk, dining table, floor, doesn't matter. The mat needs to be larger than your shooting area on all sides so the edges don't show in frame. Smooth out wrinkles — every wrinkle in matte black backdrop catches highlight and reads as a streak on camera.
- Place the card or slab in the center. If shooting a binder page, open the binder flat to that page. For pulls or single-card content, center the card and align it square to the edges of the mat. Off-center looks accidental on camera even when it isn't.
- Position the two LED panels at 45 degrees off the camera axis. Imagine a line from the camera to the card — the lights should sit at 45 degrees off that line on either side, about 12-18 inches from the card, slightly above. This is the angle that makes holographic foils reveal their full pattern instead of either disappearing into the card or blowing out into a giant white reflection.
- Set the color temperature to 5500K daylight. Both panels on the same setting. If you're using one ring light, set it to its daylight mode. Mixed color temperatures (one warm bulb + one daylight) wreck the white balance and make every card look slightly green.
- Lock your phone in the right position. For photos, the phone should be perpendicular to the card — dead overhead, lens parallel to the card face. For video, especially pull videos and binder flipthroughs, set the phone at a 30-degree angle off vertical so you can see your hand and the card surface at the same time. Don't try to shoot both setups from the same position; one of them will always look wrong.
- Test shot, then tilt-check. Take one shot. If the holo looks flat, slightly tilt the card 5-10 degrees toward one of the lights. You're looking for the angle where the foil catches and shows its full color shift. This is the move every good pull video uses — the slow tilt during the reveal isn't dramatic effect, it's the photographer finding the foil's sweet spot.
- Edit minimally and consistently. Bump brightness if needed, slight contrast for definition, but skip filters. Filters distort the actual color and over time your feed will look inconsistent. The goal is the card looking exactly the way it does in your hand, not better. Buyers and trade partners learn to spot "camera-flattering" photos and discount accordingly.
The 45-degree rule and why it works
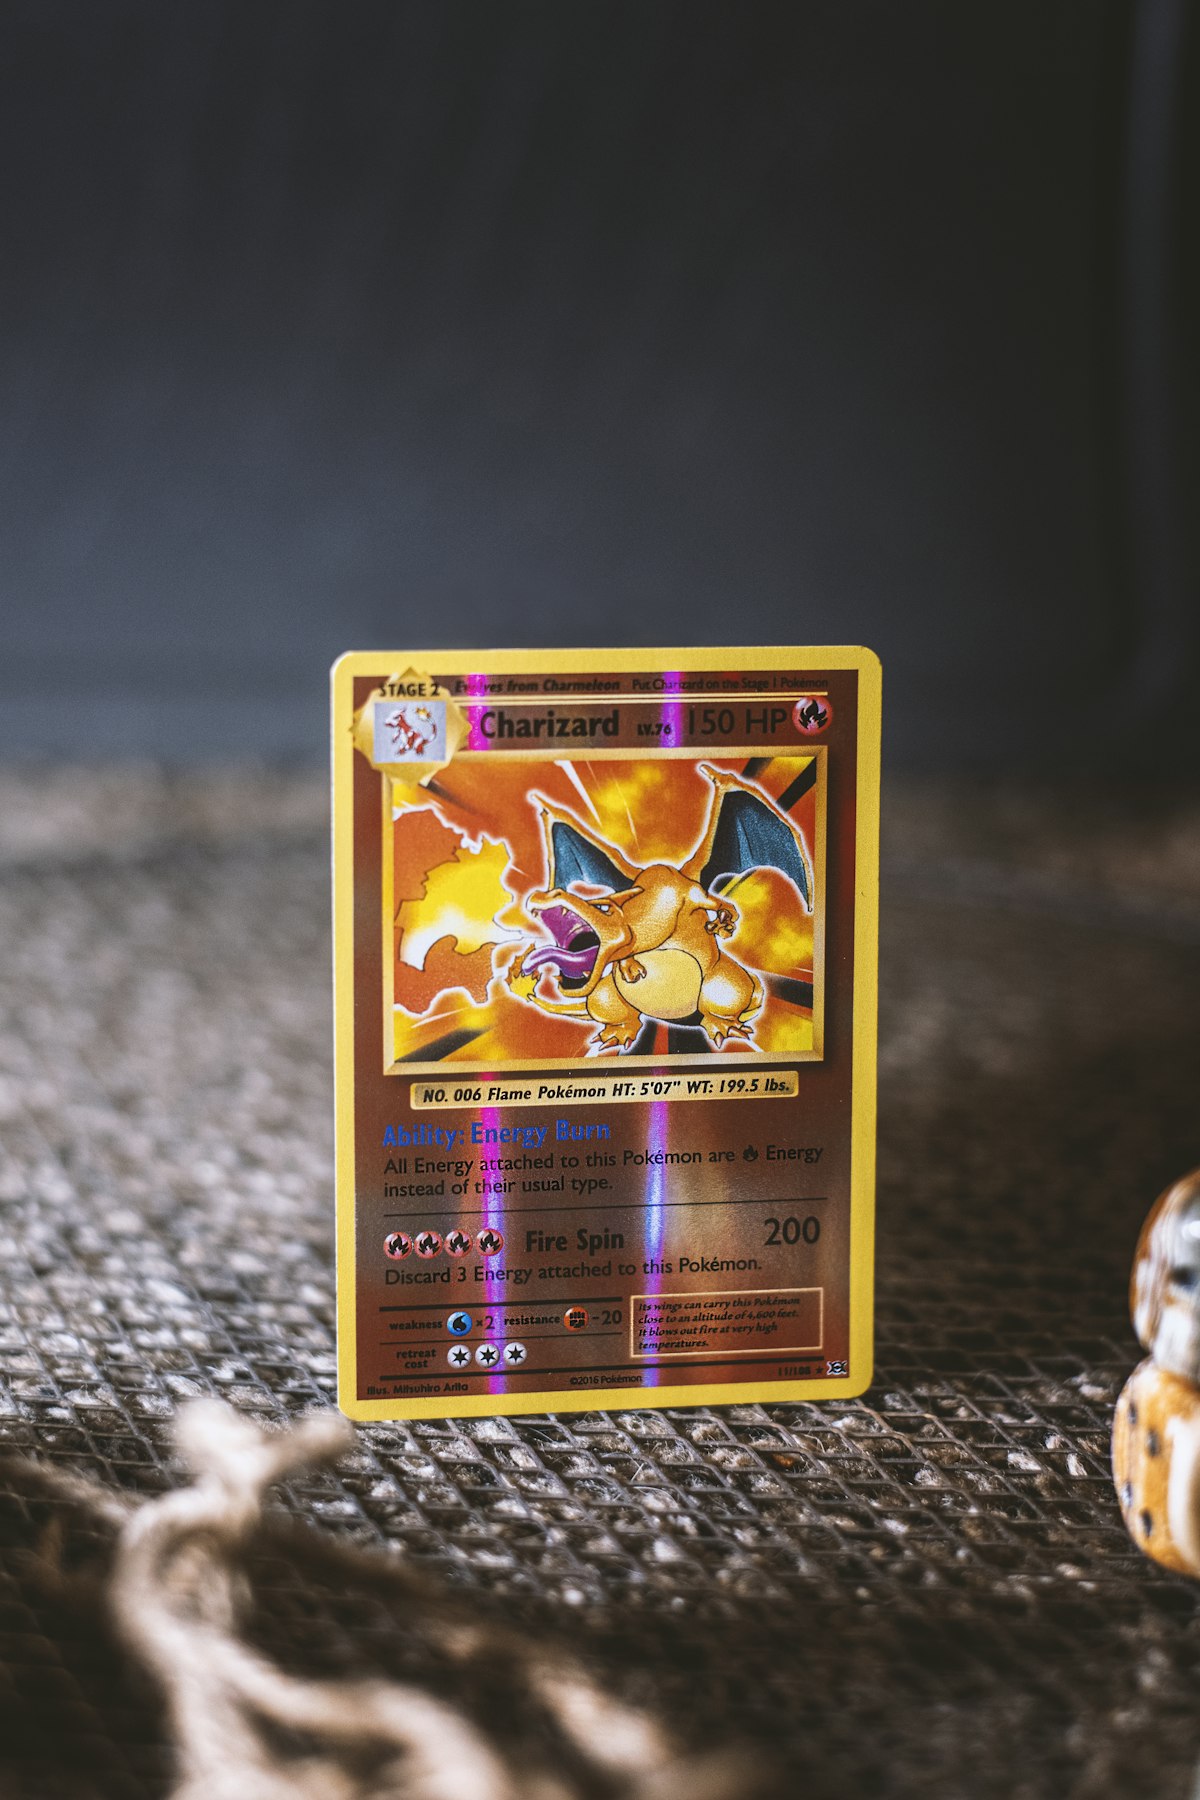
Holographic and foil cards have layered surfaces that reflect light at specific angles. Direct overhead light — like an overhead lamp or ceiling fixture — hits the foil head-on, which either makes it look flat (no foil catch) or produces a single hotspot that blows out the detail. Light at exactly 90 degrees to the surface bounces straight back to the camera and burns out.
Light at 45 degrees off the camera axis skims across the foil surface. It illuminates the card evenly, reveals the pattern, and avoids the central hotspot. Two lights at 45 degrees on either side fill in shadows so the whole card is evenly lit. This is the same principle museum and product photographers use, just scaled down to a desk.
If you only have one light source, position it at 45 degrees off-axis and put a white bounce card on the opposite side. The bounce reflects light back into the shadow side and approximates the two-light setup.
What separates a pull video from a content video
Pull videos (real-time pack opening) and content videos (planned showcase of a card or collection) are different formats with different lighting needs.
Pull videos prioritize handheld feel and immediacy. The lighting still matters — set up your two daylight panels in your usual spot and shoot from a tripod angled at 30 degrees. The camera doesn't need to move for the lighting to be right. The motion comes from your hand opening the pack, not from camera shake.
Content videos can use a steadier setup with planned angles. Lock the phone on a tripod, shoot in 1080p or 4K at 30fps, and shoot in 5-10 second clips you'll edit together later. The slow tilt during reveals — the move every good creator uses — happens at the card, not at the camera. Keep the camera locked and rotate the card slowly to find the foil catch.
Shooting binder flipthroughs
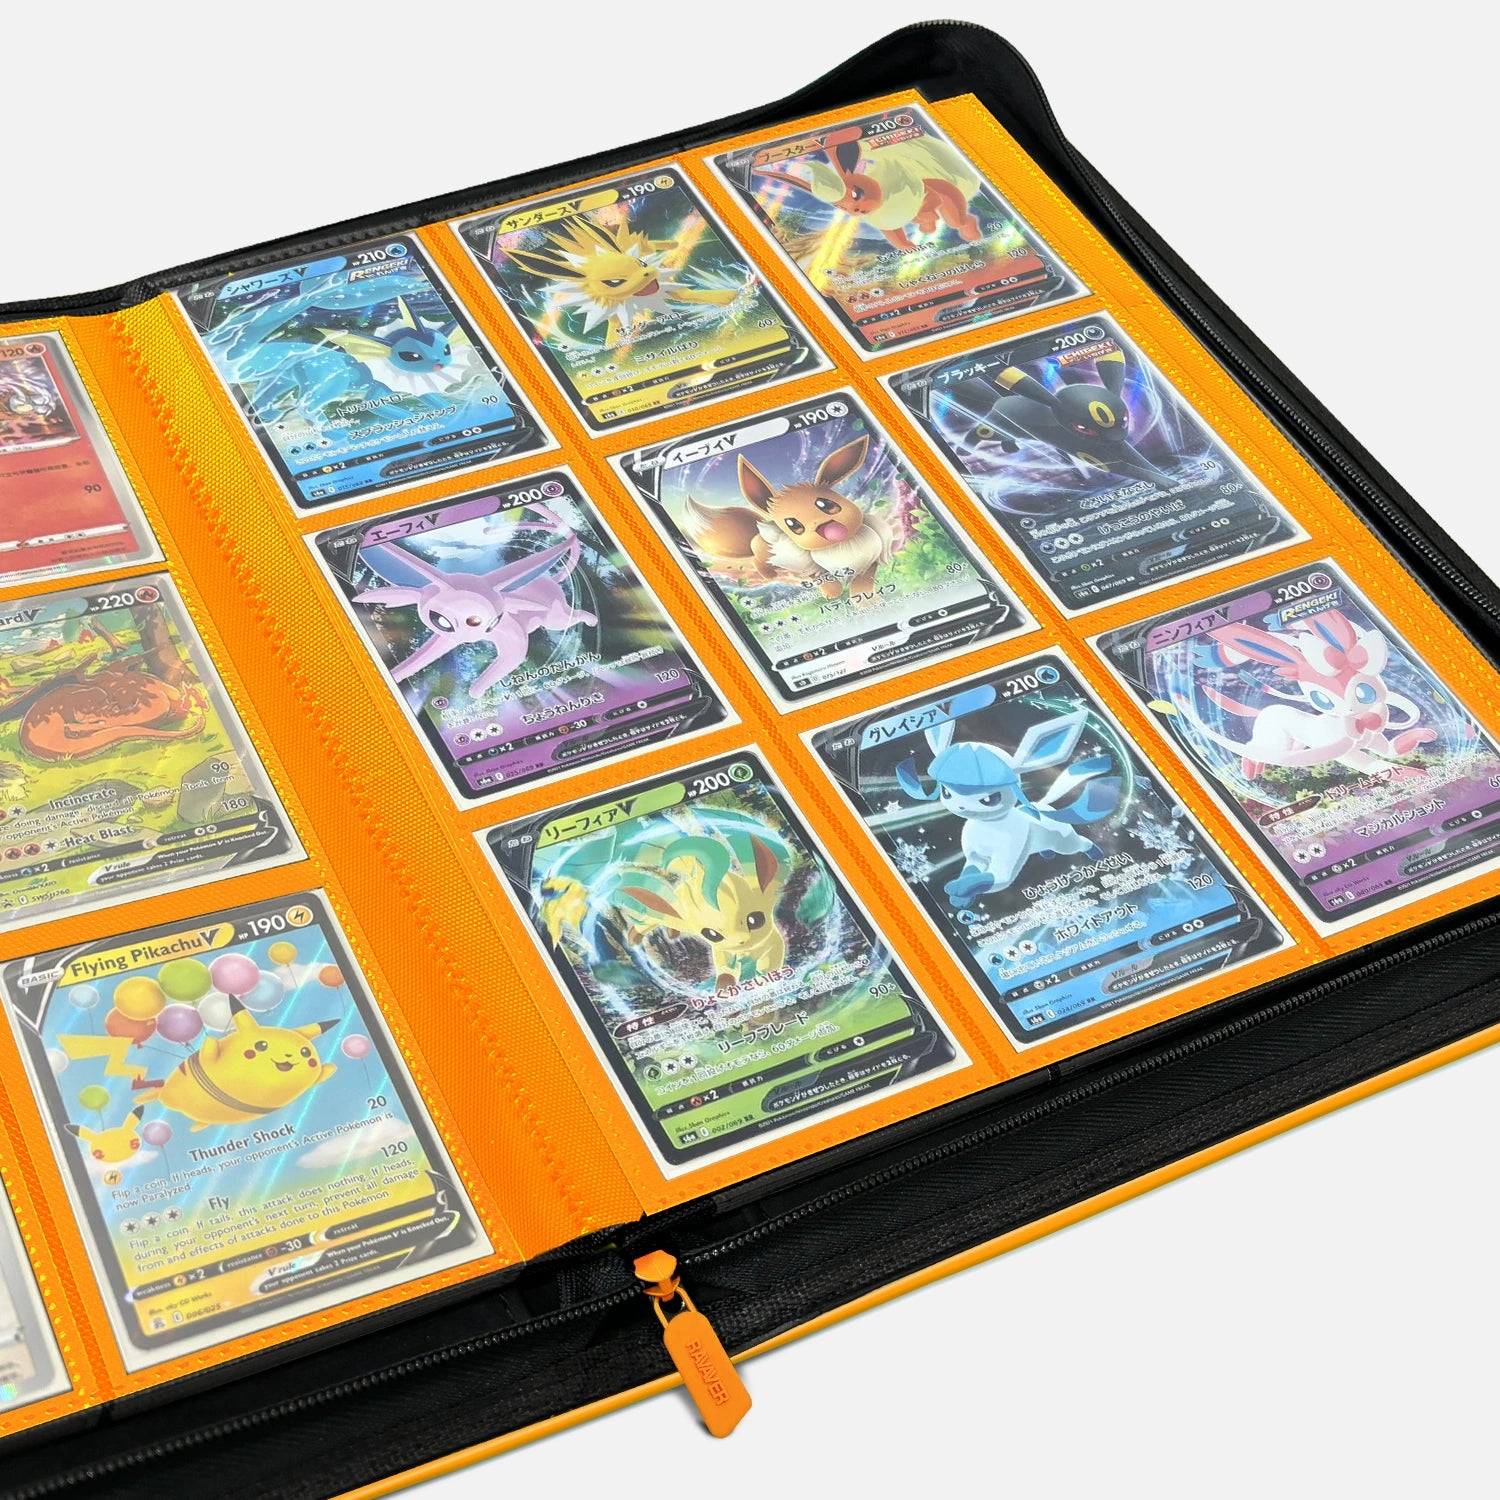
Binder content is a different shooting style and one of the highest-engagement formats on TikTok and Reels right now. Three rules: shoot from above looking straight down at the open binder, use a single overhead LED panel diffused with a piece of white paper or a softbox, and pace the page flips at about one page every 4 seconds. Faster is unreadable, slower kills engagement.
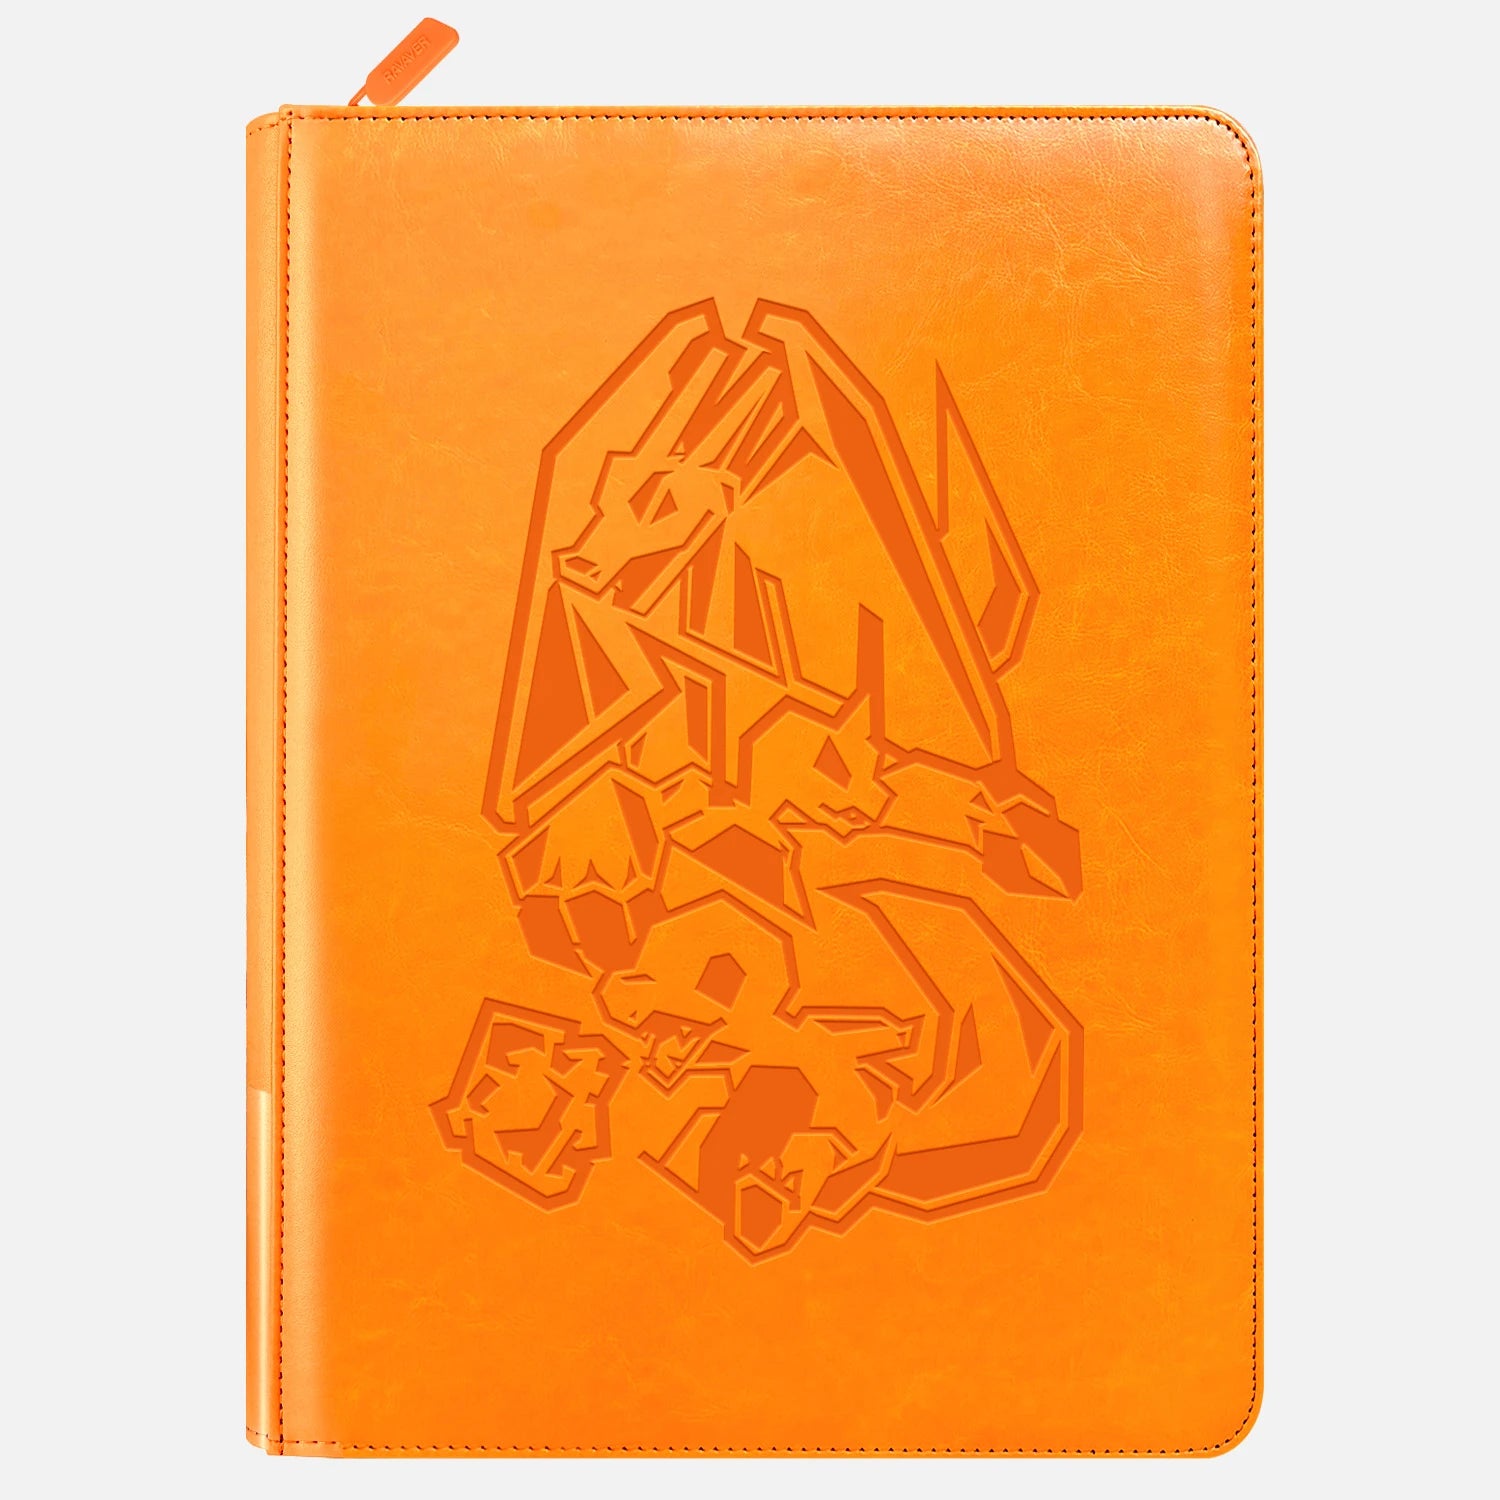
The binder cover matters here too — it's in the first frame and the last frame of the video. A scuffed flexi-folder binder reads cheap on camera even when the cards inside are graded gems. We have a comparison of binder closure types covering the visible quality difference.
Setting up the photo zone permanently
The collectors who post consistently aren't tearing the setup down between shoots. They've carved out a section of a desk or table where the lights, mat, and tripod live full-time. This is the photo zone layer in a complete collector show-off setup, and it dramatically lowers the friction to film when you have a great pull.
A 24-inch by 18-inch corner of any flat surface is enough. Two clamp-mounted LED panels on a shelf above the desk, mat rolled in the corner when not in use, phone tripod in a drawer. Setup time goes from 20 minutes to 90 seconds. The math on getting one more piece of content per week is significant for anyone building an audience.
What to avoid
- Ring lights as the only source for photos. Ring lights produce a circular reflection in the foil that looks unnatural. They work better for video where the motion hides the ring; for static product shots, two panels at 45 degrees beat a ring light.
- Vertical fluorescent or LED tube lights. Common in basements and garages. The color cast is variable and unflattering on cards, especially holos.
- Phone flash. Direct on-axis blast that washes out detail. Never use it for cards.
- Editing app filters labeled "Vivid" or "HDR." They saturate colors past what the card actually shows and your buyers/trade partners learn to mistrust your photos.
- Shooting through plastic. If the card is in a slab, that's fine — slabs are clear and designed for it. If you're shooting a raw card still in a toploader, take it out for the photo. The toploader plastic always shows.
Frequently Asked Questions
Do I need a real camera or is my phone enough?
For social media — Instagram, TikTok, Reddit posts — your phone is more than enough. Phones from 2020 onward have computational photography that handles cards well in good lighting. The lighting setup matters far more than the camera. Collectors with DSLRs and bad lighting produce worse content than collectors with phones and proper 45-degree lighting.
Why do my photos have a yellow or green tint?
Color cast comes from mixed light sources or the wrong color temperature. Common causes: overhead room light (usually warm 2700K) on while you're shooting with daylight panels, mixed-temperature LED bulbs, or shooting near a window with natural daylight while artificial light is also on. Fix: turn off all other lights, use only your daylight panels, and set your phone's white balance to Daylight or 5500K manually.
How do I shoot graded slabs without glare?
Slab plastic is highly reflective. Steepen the light angle to about 60 degrees off-axis (instead of the standard 45) so the lights aren't reflecting back into the camera. Tilt the slab itself slightly if needed. A polarizing filter for the phone lens (\$15-\$25) cuts most remaining glare. Some collectors shoot in slightly dimmer ambient light and bring in one focused side light to model the slab without the front-face reflection.
What's the best background color for Pokemon cards?
Matte black is the most flexible — it makes any card color pop, hides clutter, and gives a premium feel. Light gray works as a second choice, especially for cards with a lot of black in them (Umbreon, Gengar). Avoid white as a backdrop unless the card has heavy color contrast; white competes with light card backgrounds and washes out subtle holos.
Should I shoot in 4K or 1080p?
1080p is enough for Instagram, TikTok, Reddit, and Reels. 4K is overkill for these platforms — they compress everything down anyway. The only reason to shoot 4K is if you want to crop in heavily during editing while keeping resolution. For most card content, 1080p at 30fps is the right balance of file size and quality.
How do I make the holo "sparkle" effect look good on video?
Slow tilt during the shot. Keep the camera still on a tripod and rotate the card slowly through about 30 degrees of tilt while the lights stay in place. The foil pattern shifts under the moving light angle and the video captures the rainbow shift. This is the move every great pull video uses — it's not editing, it's physics.
Can I shoot Pokemon card content outside?
Outside lighting in shade (not direct sun) is actually one of the best free lighting setups. The cloud cover or shade acts as a giant diffuser, and the color temperature is naturally daylight. Direct sun is the opposite — hard shadows, blown-out foils, and visible UV damage risk to the card if you leave it out. Shoot in open shade on an overcast day for the highest-quality natural light.
Next step
Buy the mat and the two daylight panels this week. Total under \$50. Set them up once. The next great pull you film will look like it belongs in a magazine. If you're also looking at the binder side of your content setup, the Ravaver binder collection has covers designed to read well on camera — deep saturated Pokemon character art that holds up under the same daylight lighting you're using for cards.
Sources:
- Poke Therapy, “How to Take Stunning Pokemon Card Pictures: Lighting, Angles & Editing,” retrieved 2026-05-15, link
- LUDEX, “How to Take Better Pictures of Cards for Online Listings, Social Media, and Personal Collections,” retrieved 2026-05-15, link
- Goat Armor, “How to Photograph Trading Cards Like a Pro,” retrieved 2026-05-15, link